Sunday, December 30, 2012

Cookie Monster - DIY oreos

I'm squeezing in a lot of posts here at the end of the year.
I know it's not Wednesday, but I wanted to squeeze in one more cookie recipe before everyone starts their New Year's resolutions.
I made these cookies for my cousin, who was also M's best friend for Christmas.  I wanted to make him an extra special treat, so this is what he got.
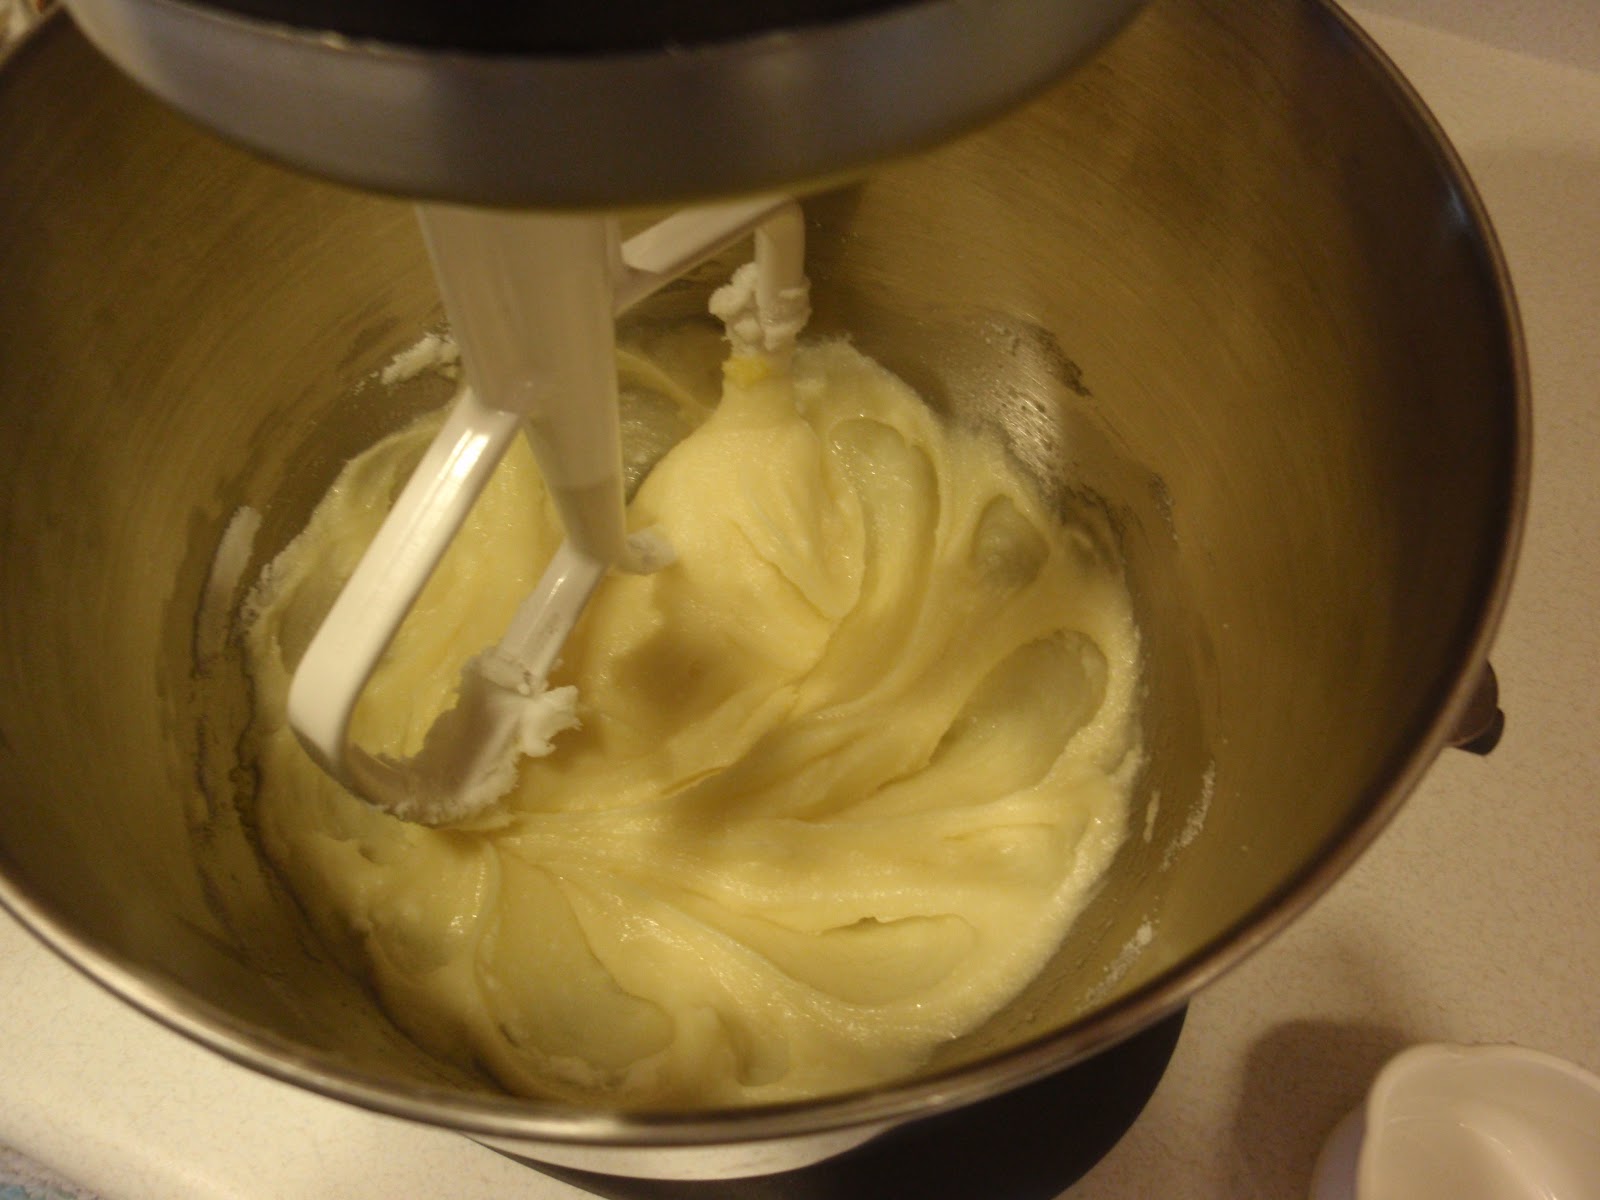
The frosting for these cookies is spot on - delicious!  I want to use it to frost some more cookies in the future, not just to use as filling for these oreos.

DIY Oreos
Ingredients

  • 1 1/4 cup flour
  • 1/2 cup unsweetened Dutch process cocoa powder
  • 1 teaspoon baking soda
  • 1/4 teaspoon baking powder
  • 1/4 teaspoon salt
  • 10 Tablespoons (1 1/4 sticks) unsalted butter, at room temperature
  • 1 large egg

Directions

Using a mixer, combine the flour, cocoa powder, baking soda, baking powder, salt, and sugar.  Mix briefly to combine.  Add the butter to the bowl and mix briefly.  Add in the egg and mix until the dough forms a cohesive mass.

Scoop a Tablespoon of dough onto a cookie sheet lined with parchment paper or a silicone baking mat.  (I used my cookie scooper for this, but I would have liked to use a smaller size as some of my oreos turned out pretty monstrous).

Gently press down on the dough balls to flatten slightly

Bake for 9-11 minutes at 375 degrees, rotating the pans halfway through.  Let cool some before removing cookies to a cooling rack to finish cooling.  The cookies must be 100% cooled before filling.

Frosting
Ingredients

  • 4 Tablespoons (1/4 cup) room temperature unsalted butter
  • 1/4 cup vegetable shortening (Crisco)
  • 2 cups powdered sugar
  • 2 teaspoons vanilla extract
*Note, most times I only make half of a recipe for frosting, because usually the full recipe is way to much for the number of cookies that I ended up with.  But make the full recipe for the oreos.  Trust me.

Directions

Combine the butter and shortening and beat on a med/high speed until smooth.  Add the powdered sugar and slowly incorporate it.  Then increase speed and beat until light and fluffy, 2-3 minutes.  Blend in the Vanilla Extract.

Pair the cookies up by size.  Use a pastry bag fitted with the large pain rough tip to pipe the filling onto one side of the cookie.  Sandwich together and press down/twist to cause the filling to spread out to the edges of the cookie.  If you don't have a pastry bag, you can also use a knife or the back of a spoon to spread the filling onto the cookies.


Recipe from Annies Eats


Thursday, December 27, 2012

New year is coming soon

Wow
I can't believe that it's almost 2013.  Crazy!  Where has this year gone.
I've been throughly enjoying my time off from school/work this past week.  Love me some days off!  They were very much needed to recharge my batteries and give me some time to myself.  I was going a little crazy and stressed right before break, but having more time in the day has certainly helped.
With my extra time, I've been thinking about what I'd like to change in my life, what I'd like to do in the year ahead.
I'm usually not one for New's Year's Resolutions, but just now I'm thinking about a few things that I would like to do.
But I'm always open to suggestions.
What are your New Years Resolution(s)?  Any good ones you'd care to share?

Wednesday, December 26, 2012

Cookie Monster - Ginger snaps

Happy week after Christmas.  I couldn't quite give up the Christmas cookies yet, but I wanted to share with you a little more well rounded cookie that can be used more often.
In keeping with my Christmas theme, this recipe is also an old one from a pseudo family member.  My cousin's other grandma, whom I affectionately call Ma Betty made these ginger cookies once and brought them to a holiday get together, so I made them to share with M's dad's family this year.
Pretty simple recipe.  Just make sure that the dough is well chilled.
Happy Baking!

Ingredients

  • 1 1/2 cups shortening (I used Crisco)
  • 1 1/2 cups sugar
  • 3/4 cup molasses
  • 4 cups flour
  • 1 1/2 tsp baking soda
  • 1 1/2 tsp salt
  • 1 Tablespoon plus one teaspoon ginger
  • 1 Tablespoon cinnamon
  • 1 Tablespoon cloves


Directions
Cream shortening, sugar, and molasses till fluffy

Add dry ingredients
Mix well.
Shape into 2 thick rolls, wrap in waxed paper.  Refrigerate several hours or overnight until very firm


Heat oven to 350 degrees.  Slice in 1/4 inch slices.


Bake on a lightly greased sheet (or parchment paper or silicone baking mat) for 12-15 minutes.
Ma Betty sprinkled sugar on the top before baking and I do as well. - Yum!


I have one more cookie recipe to share with you at the end of the year, then I think the cookie monster series may rest for awhile.  I know so many people who do healthy new years resolutions, so I'm going to work on sharing some other cooking and/or bread baking recipes instead of cookies for awhile.  Or at least the month of January.  I love cookies and they are what I make best :)

Tuesday, December 25, 2012

Merry Christmas!

Merry Christmas everyone!   M and I celebrated our first Christmas as a married couple :)  We are looking forward to starting our own Christmas traditions.
I hope you all had a wonderful day and got to spend lots of time with family and friends. And safe travels to those who are taking to the roads and skies.

Sunday, December 23, 2012

Christmas Cookie Monster - Cut Out Cookies

Keeping with the theme of recipes from family members, this week I'm sharing the Christmas cut out recipe that my family has always used.  This recipe came from my Aunt Joyce who used it when she first started baking in the 1960s (so says the note on my recipe card :) ).  Back then, she thought the recipe was for shifted cookies, but I have always called them the cut out cookie recipe.
This recipe can be cut in half, as it is a fairly large batch.  Or you can also double if you want lots and lots of cookies :)

Ingredients

  • 7 cups of flour
  • 2 Tablespoons of baking powder
  • 1 teaspoon salt
  • 1 1/3 cups margarine
  • 3 cups sugar
  • 4 eggs
  • 1 Tablespoon vanilla
  • 1/4 cup milk

Directions
Cream  the margarine  sugar  eggs, milk, and vanilla.  Add the dry ingredients and mix well.  Chill dough for 3-4 hours (or overnight).
Flour work surface and roll out dough and cut out cookies.  It helps to flour the cookie cutters before cutting cookies.
Bake at 400 degrees for 8-9 minutes.
Sprinkle with colored sugar before baking or leave plain and frost once cookies have cooled completely.

Linking up

Tuesday, December 18, 2012

Wedding Photos part 1 - Formal shots

Here's a first look at some of our wedding photos!
More to come soon :)
Our photographer Nicole of Clark Smith Photography did an amazing job!
In the small world that we live in - her sister was my brother's prom date - too funny!

Church where we were married


My new husband and I!
My family

Mom and me

Dad and me
Matt's family + me

Matt's family

My beautiful bridesmaids

All of the wedding party

Wedding party and Ushers

Two kisses

Everyone smooch!
 

Friday, December 14, 2012

Visit to Madison


So this post is about two weeks overdue.  Sorry! 
The first weekend in December, M and I made our annual visit to Madison to visit our dear friends.  It's always such a treat to see them because they have such busy schedules.  They moved into a new house last summer and have been fixing it up, so it was exciting to see the changes that they have made (and it was so awesome to sleep in a bed instead of a mattress in the middle of the living room!) 
M helped my cousin with several house projects like building shelves in the basement and installing a TV in the kitchen (which was a far bigger project than expected!).  My weekend was quite a bit more relaxing as I helped my friend run some errand.... and then.... the highlight of my weekend... she taught me to make homemade cards!  For the past few years since I met C, she has been sending me the most adorable cards for birthdays and special days.  I have always wanted her to teach me.  In fact, she sent me some supplies for my birthday in 2011 to get me started... but our schedules have been so busy since that that we were never able to connect for a day of instruction.  Well finally on Dec. 2nd we did!  It was so much fun.  In just a few hours, I learned a lot of different techniques and made 11 cards in 3 themes.  Awesome!
On my wish list are several cardmaking supplies so I can keep creating on my own, in between our visits to Madison.
 
Have a great weekend!
 
I love the balloons and clouds

A close up

Purple cards were of course a must!  I used the flowers and happy birthday rub ons that I've had for ever!

I think this one might be my favorite :)  Love the combination of the butterflies and sparkles

The snowmen were adorable! 

And look so pretty with silver embossing!


Wednesday, December 12, 2012

Christmas Cookie Monster - Candy Cane Cookies

Last week I shared some christmas trees with an almond twist, this week I have some fun candy canes to share with you.  These are a basic/plain sugar cookie recipe with a fun little twist.  Again, this recipe is a really old one from my grandma.  My mom always struggled to twist the dough together, but it's really pretty simple - give it a try!
 
Candy Cane Cookie
 
Ingredients
  • 3 cups flour
  • 1 tsp baking powder
  • 3/4 tsp salt
  • 1/2 cupe shortening
  • 1 1/2 cup sugar
  • 2 eggs
  • 3 TBSP milk
  • 1 1/2 tsp vanilla
Mix together the dry ingredients and set aside.  Cream shortening and suger together until light and fluffy (see below)

 
Add eggs, one at a time
 
 Stir in vanilla and milk. Beat well.    
 Add dry ingredients and mix until well blended.
 Divide dough in half and add a few drops or red food coloring to one half of dough
Wrap each half of dough in waxed paper and chill for about 2 hours (or overnight).  When chilled, pinch of pieces of dough and roll each into rope-like strips 4-6 inches long and 1/2 inch thick.  Lay a red and white strip next to each other and twist the two strips together.  Then bend on end to resemble a cane.  Place on greased cookied sheet.
Bake at 375' for 8-10 minutes.  Cool thoroughly on rack.
 
 
Enjoy!
 
 
Linking up to these great parties


SixSistersStuff.comOr so she says

Monday, December 10, 2012

Christmas Countdown Kisses

Remember the advent calendars you had as a kid?  My aunt would always mail one to us, the kind where you had the chocolate each day and it told the Christmas story. 
Pinterest was full of advent calendar ideas in the week around Thanksgiving.  I saw this on and I fell in love with it. 

I wanted to start a tradition of doing an advent calendar with Matt, but didn't want to go buy one, but I've been busy so I went for this nice and simple one. 
All you need is some saran wrap, Hershey's Kisses, and some spare yarn or string.

Take about 2-3 feet of saran wrap and lay it down on the floor. (it's ok if you run out, saran wrap is nice and sticks to itself, so if you run out of room, you can always add more)  Place your kisses in the middle and wrap them up burrito style.  Tie a piece of string below each kiss to hold it in place.  You'll want to tie it tight and double knot it.
Tie a string with a loop at the top so you can hand it somewhere.  I have ours hung over our calendar in the kitchen.
And ta-da.  A chocolate Kiss for each day leading up to Chrismas.  Matt gets a kiss and so do I :)  I think I'll like this plan!


Idea from: It's Overflowing


Linking up with these great parties


SixSistersStuff.comOr so she says

Friday, December 7, 2012

Christmas Cookie Monster - Christmas Trees

It's the holiday season!  Time to switch the cookie monster series over to some Christmas baking :)  Yum!
The first two recipes are going to be some very old family recipes we have from my grandma.  She passed away when my mom was in high school, so I never met her, but baking her old recipes is a way to feel connected to her.

For this recipes you will need a cookie press.  I have a battery opperated one. 


I also have an electric one at my mom's house that I really enjoy.  If you don't have a cookie press, you can also just drop the dough and flatten it and it will turn out fine. 

The recipe is really basic - one very important thing to note.  Do NOT chill this dough.  Ever.  I did once and the dough got so stiff I broke the cookie press and the dough would not run through the press.  It was a pretty bad day.  So make sure not to chill the dough!

Christmas Tree Cookies
Ingrediants
  • 1 cup Crisco (shortening)
  • 3/4 cup sugar
  • 1 egg
  • 2 1/4 cups flour
  • 1/4 tsp baking powder
  • 1/4 tsp salt
  • green food coloring
  • 1 tsp almond extract
Directions
Cream Crisco and sugar, then beat in egg and almond extract.  Gradually add dry ingredients.  Tint dough green (if desired).  Use tree design from the cookie press and press out cookies onto greased baking sheets (or use silicon baking mats).  Bake at 375' for 10-12 minutes.

 
Linking up here
 
Related Posts Plugin for WordPress, Blogger...