I'm sure you've seen lots of similar signs on Pinterest - there were so many to choose from and I had a hard time narrowing down just what I wanted. After lots of debate, and lots of searching for the perfect frame, this is what I came up with.


Can't wait to see what I can make next with my Cameo!
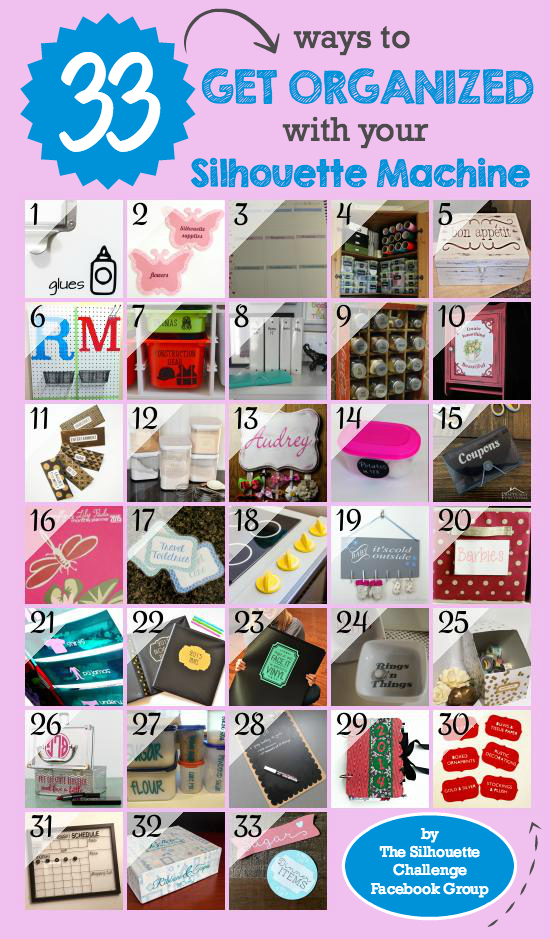
Want to Check Out More Silhouette Projects?
My Silhouette Challenge buddies and I are all sharing projects on our blogs today, so peruse the projects below for a wealth of Silhouette inspiration!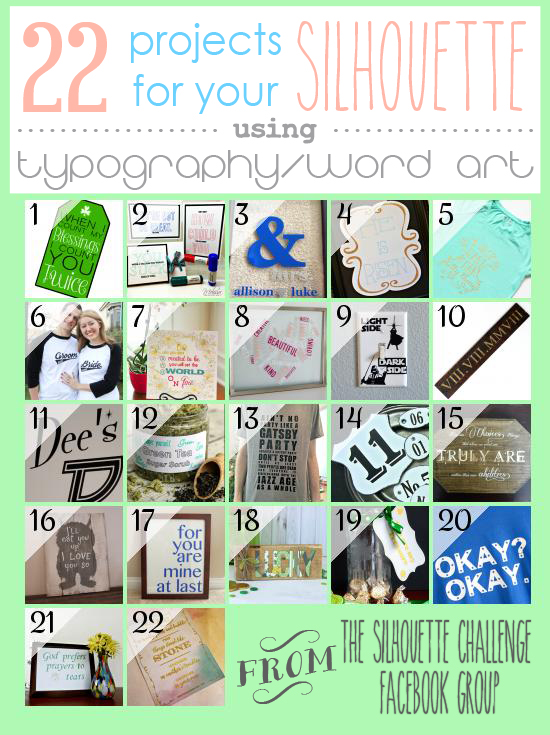
1. My Paper Craze // 2. The Stamp Doc // 3. Peanut Life Adventures // 4. Creative Ramblings // 5. Pitter and Glink // 6. The Thinking Closet // 7. Single Yet Married Mom // 8. unOriginalMom // 9. Sisters, What! // 10. Where The Smiles Have Been // 11. From Whine to Whine // 12. Adventures in All Things Food // 13. Practically Functional // 14. Patina Paradise // 15. Please Excuse My Craftermath... // 16. Weekend Craft // 17. Two Purple Couches // 18. Ribbons & Glue // 19. TitiCrafty // 20. Simply Kelly Designs // 21. Confessions of an Overworked Mom // 22. Get Silvered
Linking up at some of these great parties!