Wednesday, November 28, 2012

Cookie Monster #2 - Basswood cookies

And I fail.  Second week of my cookie monster series, and I don't have any cookies for you.  Well actually I do, but I don't have any pictures of the steps... just the final products and how to frost them.
So... here is one of my favorite basic cookie recipes with frosting

I called them Basswood cookies when I was little, because I couldn't remember what they were actually called.  They are a basic sugar cookie like recipe, with almond bark frosting that melts in your mouth.  mmmm yummy.

So, please excuse my lack of pictures, but please do try out this recipe - it's excellent!

Basswood Cookies
Ingredients
  • 1 cup margarine
  • 2/3 cup sugar
  • 1/2 cup light corn syrup
  • 1 Tbsp lemon juice
  • 1 egg
  • 4 cups flour
  • 1/2 tsp salt
For the Frosting
  • 3 squares almond bark
Mix together all ingredients in order give.  Chill (2 hours is usually fine).  Place balls of dough on a cookie sheet and flatten (I find that using the bottom of a glass works great for this.  Flour the bottom of the glass to prevent sticking!)
Bake at 350 for 9-10 minutes.  The cookies should still be very pale, they do not brown much, so don't over bake.
Frosting - Melt almond bark squares in the microwave.  Tint to desired color and paint on cookies.  I usually just spread the frosting on the cookies using the back of a spoon.

 
If you wish, you can also make cut out cookies using this recipe. 

Linking up here


SixSistersStuff.com
Or so she says

Saturday, November 24, 2012

Sewing machine!

My sewing machine finally came  :)

Can't wait to start working on some projects that are on my Sewing Pinterest board :). 
But first.... learning to use it!
Second... making some Christmas presents
Third... fun times on pinterest projects :)
If you have any fun easy projects, be sure to send them my way.  I am super excited!

Or if anyone has some learning to sew class suggestions, I'd be all over that to, as I'm sorta just going through this whole process on my own.

Here are some pictures of the machine I picked out with some of our wedding money.  M and I each are getting a treat and this is mine.

Brother Deluxe Electronic Sewing Machine - CS6000i - purchased at Target

Thursday, November 22, 2012

I'm thankful for

This year I have so incredibly much to be thankful for.  Sometimes I look at my life, and I'm like, wow, is this really my life?  Things have really been on an upward swing the last few years and I am so grateful for all of the many good things in my life.

I am so thankful to be married to the most amazing man!  Matt is so sweet and caring.  He's a great listener and I can talk to him about anything.  He is calm and supportive.  He takes great care of me and makes me feel safe.  (and he kills bugs for me!)


I am thankful that we had such a beautiful wedding.  It was such an amazing day and I'm thankful that so many of our friends and families were able to come and celebrate the beginning of our marriage with us. (and in a way I am thankful the stress of planning the wedding is over)


I am thankful for my family.  They are always there for me.  We all have our unique quirks and we love each other.  Its so nice to have a group of people that you can 100% relax around, who will love you no matter what, and who know you so well.

I am thankful for my friends  for their help and listening ears.  I am thankful (and I miss) girl's nights.  I am thankful that I'm starting to build a good group of new friends here.


 I am thankful that Matt and I have jobs, and that mine has decent benefits that he is now able to share.  My job has definitely not been my favorite thing this year, and it has been very stressful, but I am thankful to be employed.

Wednesday, November 21, 2012

Cookie Monster 1 - Cake Batter cookies

Everyone needs a mid-week pick-me-up.  I know some coworkers who have cookie Wednesday, so I thought I would start posting the Cookie Monster series on Wednesdays :)  I may not be in the office to enjoy the cookies with them, but I can share some yummy recipes with you!

The first cookies in the series are a new one to me, they are made with cake batter.  Mmmmm mention cake batter and I'm all over it!  And these ones have a secret ingredient ;)

 
Here's my happy mixer.  This is my favorite place in my new house - my mixing stand finally has a home! (instead of living in the spare closet or on the dining room floor like it did in my apartment)  It's also super great because all of my baking supplies are right above the mixer - very convenient   


Step 1 - Cream butter and sugars together
*Hint, if your butter is cold, put it in the microwave for 8-10 seconds, then flip the stick of butter over.  This helps soften the butter so that it creams better


This is what it looks like creamed!


Now for the secret ingredient - pudding mix!  Add a packet of vanilla instant pudding.  (Just the package of mix, you don't actually make the pudding)


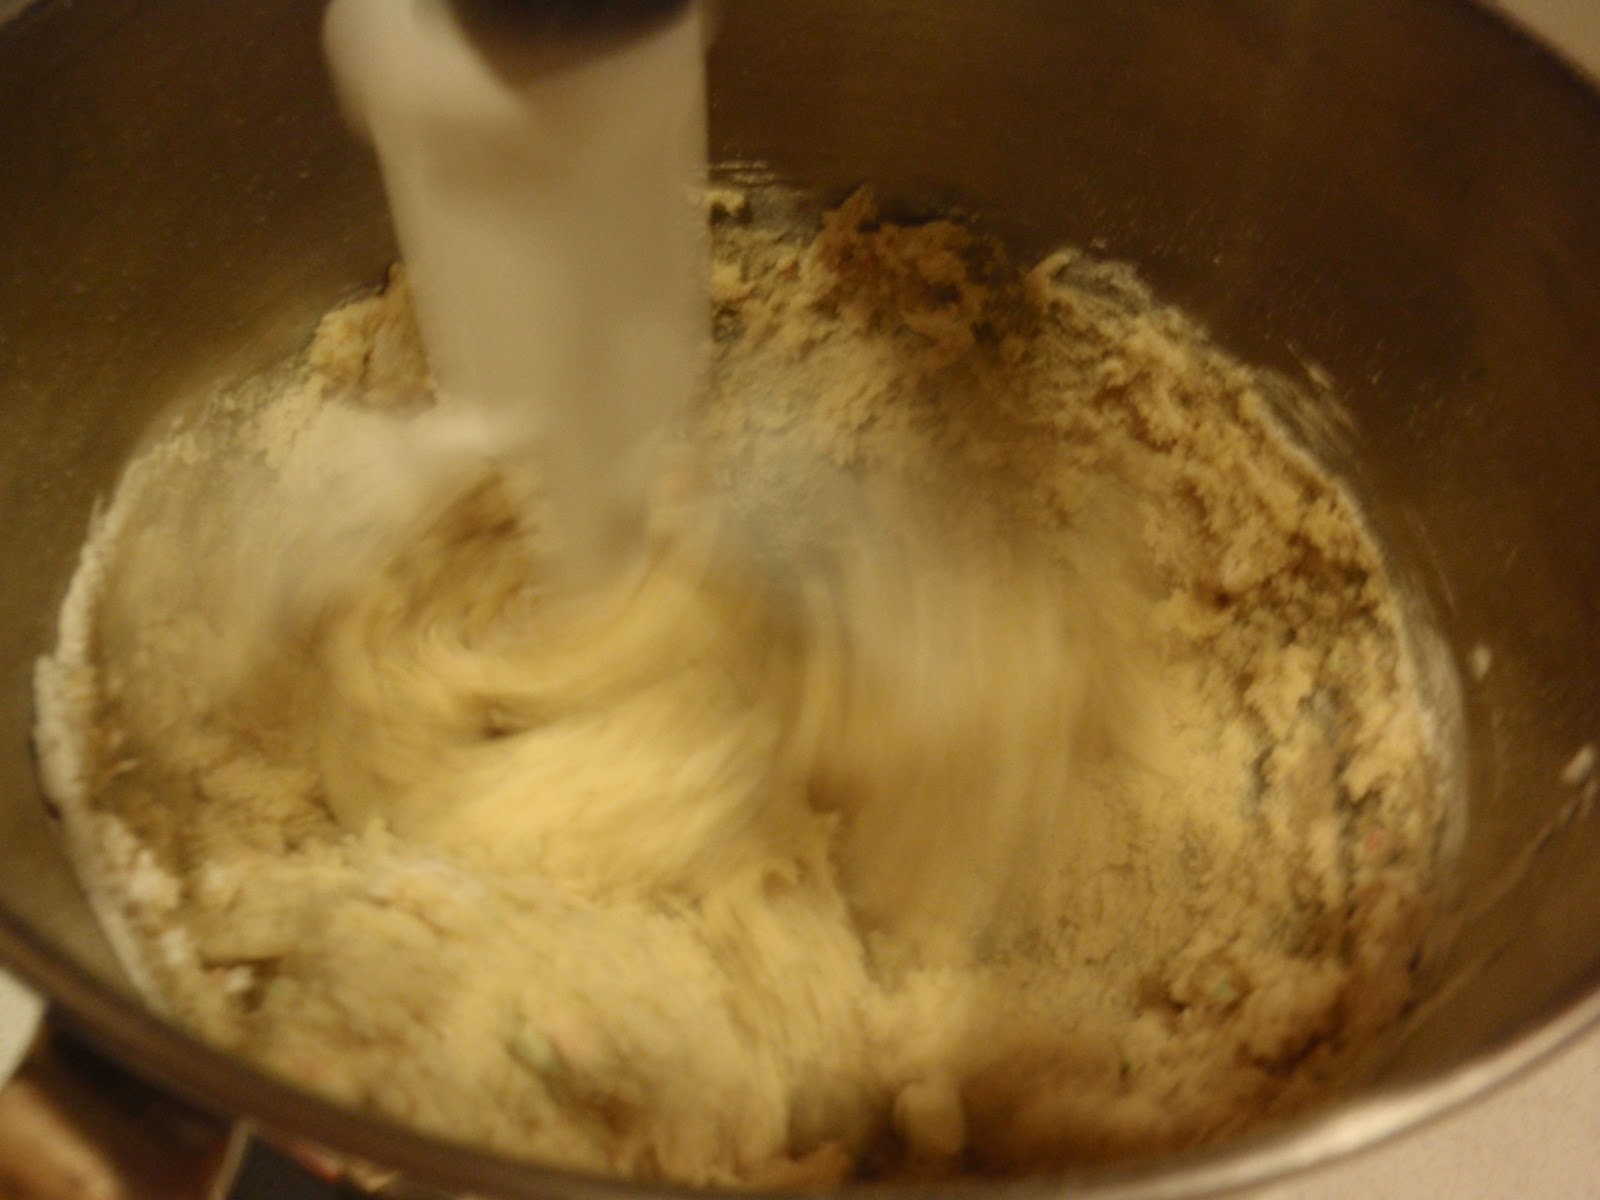
Beat in the pudding and the cake mix, mix well.  


Add in the vanilla and two eggs


Mix well - look at that mixer go!


Carefully add in the rest of the dry ingredients - flour, salt, and baking soda. 


Add some sprinkles if you wish


I used my new dough scoop to scoop cookies onto my cookie sheet, if you don't have a cookie scoop, just use a spoon to drop approx. 1 inch bass of dough.  


Bake at 350 for 10-12 minutes and enjoy!

Cake Batter Pudding Cookies
Ingredients
  • 1 1/2 Sticks (3/4 cup) Butter
  • 1/2 cup brown sugar
  • 1/2 cup sugar
  • 1 (3.4 oz) package instant vanilla pudding mix
  • 3/4 cup funfetti cake mix
  • 2 eggs
  • 1 tsp vanilla
  • 1 tsp baking soda
  • 2 1/4 cups flour
  • 1/2 tsp salt
  • Sprinkles
Preheat oven to 350 F
In cream together butter and sugars
Add in pudding mix and cake mix and beat until well blended
Add eggs and vanilla, mix well
Slowly add dry ingredients and mix until well Incorporated
Mix in sprinkles if desired
Roll into 1 inch balls and place on greased cookie sheet (or use a silicone baking mat)
Bake at 350 for 10-12 minutes

**Notes**
The original recipe called for 3/4 c brown sugar and 1/4 cup sugar - I evened it out
The original recipe also called for a yellow cake mix, but I preferred to use funfetti because a) I had an open box of funfetti mix, and b) more sprinkles!


Recipe adapted from Chef in Training


Linking up to these parties :)

Or so she says

SixSistersStuff.com

Monday, November 19, 2012

Cookie Monster

I love to bake.  If you know me, that's pretty obvious.  Clearly I can't eat everything I bake myself.  :)  Thank goodness my new husband likes to eat all my yummy goodies as well, and can also take them to work and share them with his co-workers.  Otherwise we would both be gaining weight like crazy.

I love cookies so much, much more than cake.  Although I have fun decorating cakes, I'm not really a fan of cake (with the exception of funfetti cake :).  I thought I would take some time over the next few weeks to share some of my favorite cookie recipes.  I'll also include what I'm baking for Christmas as that season is nearly upon us.  Enjoy!


Friday, November 16, 2012

New Shoes

On our way home from Wabasha on Monday, M stopped at Rogan's because he was badly in need of a new pair of shoes.  Walking into the store, I told him not to let me buy anything, I had enough shoes and I didn't need any more right now.  Well he left his wallet in the car, so when he went to get it, I browsed through the women's tennis shoes.  And happened upon these.

They are my color!!!!  I couldn't resist, and M didn't tell me no.  And since he was buying shoes anyways, these were half off..... so home they came with me.  Even though I really didn't need a new pair of running shoes yet.  I may have to watch for these to go on clearance at the end of the season and get several pairs, like I did with my first pair of Asics purple and white running shoes.  Love me some Asiscs!

Happy Friday!

Tuesday, November 13, 2012

Meeting People

So it's pretty common knowledge that I recently got married and moved to a new town.  I love my husband very much and I'm happy working on settling into his house which is now our house (and yes, it took me forever to actually call it "our" house)
But there's one thing I don't like about moving and getting married.
I miss my friends.
I had (and have) a really cool group of friends in Rochester.  We hung out frequently, sometimes just us girls, sometimes the whole crew.  We had craft nights, game nights, margaritas nights, Murder Mystery parties, Halloween parties, Superbowl nights, and just regular old hang out times.  Its been awesome and I am so thankful to have such a great group of people to hang out with.  We always have a great time and tons of laughs are had.
And I miss that now that I've moved.  Granted, Rochester isn't that far away, but it's still much harder to plan things and it can be a pain to have to face an hour drive home at the end of the night.  And mid-week get togethers are pretty much out when two hours of driving is involved.
So... suggestions.  How do you meet people roughly your age in a new town, a small town?  I work from home, so I don't have co-workers to get to know, or to introduce me to people.  Matt has some great co-workers, but they're all guys.  I need some girls to hang out with.  And some people that have nothing to do with the sound industry.  My one good friend here sometimes freelances for Matt's company, so when he's working a really big event or a long weekend, chances are she is too.
So, bottom line, I've been married for a few weeks, and living here for a little bit and I'm on a mission to meet people!

Thursday, November 8, 2012

Name Change

Made the next step in the name change process today.  Went to the DMV to get an updated photo ID.  I was hoping they weren't going to take my picture, but I was wrong... I don't think it's going to look very  nice.

So far I have
Been added to M's bank account
Added him to my bank accounts and changed my name there
Gotten a new social security card
Registered to vote with my new name and address
Changed my name with my insurance and added M to my insurance (yippee!!)
Gotten a new work e-mail
My name got changed yesterday in my on-line school.  Now I have to start remembering to answer my phone correctly.  lol
I put a reminder on my monitor
 
 
Still to do
Get a safety deposit box
Change my name on my 401 K and change my beneficiary to M
Get name on the house deed
Get a new passport - so we can go on a honeymoon!
Get a new library card
Change my name at the doctor's office
Any anything else that comes in my name in the mail.  lol


Wednesday, November 7, 2012

Painted picture frames

Super easy and quick craft project :)

My dad's birthday was on Monday, and as always he is super hard to shop for.  So I though I would make him something that I knew he would really like - a frame with a picture of us from my wedding.  I got the idea from Pinterest (of course ;)

I picked up a $1 wooden frame from Michael's.  They have several different sizes and styles.  I chose one with a heart cut out for this one because I liked the extra space since I wanted to write a saying. 

Pick a frame and paint it using acryllic paint

Added letters or saying using a deco pen


Modge Podge to seal everything in


Insert picture - and wah-la- instant personalized gift :)

Totally Tutorials Blog


Edit
Linking up with my first party!

Photobucket
Or so she says

Sunday, November 4, 2012

Chicken Enchiladas

Mmmm
Love having a freezer full of food so that I don't have to cook every night (or can have something quick for lunch besides a grilled cheese sandwich).
I really enjoy these enchiladas because they are super plain the way I like them, but still healthy and filling.
I usually make them up in batches of about 50 and freeze them in Ziploc bags and store them in the freezer.  They'll keep for months, but 50 usually only lasts about 3 months around here

Ingredients (can be changed depending how many enchiladas you want to make)
10 lbs of chicken
50 8 or 10 inch flour tortillas
3 lbs of Colby jack shredded cheese

Steps
  1. Cook the chicken - I boil it in a big pot for 30 minutes and then check it with my meat thermometer to make sure it has gotten to 180*
  2. Let the chicken cool
  3. Chop the chicken.  I use a food processor, but if you don't have one, you can cut it by hand, it just takes longer and your chicken bites will be bigger
  4. Get your assembly line ready!  Line up all of your ingredients.
  5. Put a handful of chicken and a handful of cheese in the middle of a tortilla. 
  6. Fold the edges of the tortilla into the middle, then fold in the ends (or close your tortilla however you want to)
  7. Place in a Ziploc bag and smooth out as much air as possible.  Place in the freezer
  8. Repeat until you run out of ingredients.
Thursday night we made 59 enchiladas, with a little more than 3 lbs of cheese.

When you want to eat one, head them up in the microwave for about 2-2:30 minutes.  In my microwave 2 1/2 minutes on 70% power works perfect.  You want to cook them so the chicken gets heated all the way through, but you don't want the tortilla to turn crunchy or the cheese to burn.

I know I know, I should have taken more pictures.  However, it's hard to take pictures when your hands are full of chicken and cheese!

So here's a picture of the finished product.  Maybe next time I make them, I'll remember to take pictures of all the steps. 


    Related Posts Plugin for WordPress, Blogger...